Many professionals in the car audio industry started their careers as novices installing equipment for themselves or friends in their driveways and garages. That hands-on experience typically led to a job at a local shop and allowed them to learn more about electrical theory, acoustics, physics, and fabrication. Those who have invested time in understanding these advanced concepts offer impressive value to consumers. That said, this experience and efficiency come at a cost. Let’s look at the benefits and drawbacks of professional versus DIY car audio upgrades.
Consideration 1: Time
Let’s say you want to install a new radio in your car or truck. You’ll need to go to the store, audition several radio options, then purchase the radio and all the necessary installation accessories. These days, you likely need a data interface, wire harness adapter, antenna adapter, USB adapter, and a mounting kit.
When you get home, you’ll connect the harness from the radio to the wire harness adapter. Then, you have to take the dash apart. If you have an older vehicle, this could be as simple as removing a few screws. Some older vehicles required special keys or tools to remove the radio. In some vehicles, you might have to remove the glove box or center console trim and parts of the dash before the radio becomes accessible. You’ll also need to remove trim pieces around the windshield to run the hands-free mic. Speaking of the Bluetooth mic, you’ll need to know where to install it and how to secure the wire so that it doesn’t drop down in front of the windshield.
Connecting the wiring is usually pretty simple. However, finding a location for the new modules and connectors can be a pain. We know people who have spent more than an hour trying to get a new radio to fit into the dash because of all the extra wiring and magic interface boxes.
Vehicle Interface Modules
Speaking of modules, you’ll want to include a steering wheel button interface. Depending on the unit you purchase, getting this programmed and working can take another 30 to 60 minutes. You may also need access to a computer to program the interface, so downloads and drivers on a Windows PC are in your future.
If the project goes well, between making the purchase, wiring, installation, and clean-up, you’ll likely need at least four to five hours. If there are issues and you have to go back to the store, the time could easily increase by 50%.
On the other hand, if you have a professional do the installation, they will most likely have already worked on your vehicle’s make and model. Buying a radio and then having it installed typically takes less than two hours.
Winner: Professional Installation

Consideration 2: Cost
We aren’t saying that your time doesn’t have value. From the standpoint of the raw out-of-pocket cost to upgrade a radio or install an amplifier, your time is free. On the other hand, paying a professional to work on your vehicle will cost well over $100 an hour.
If you have an entire day available and want to try an installation yourself, that’s your decision. If you have a busy schedule with family, work, sports, and time with friends, then spending an entire day guessing how to take your car apart, where to connect wires, how to configure modules, and put the whole thing back together without buzzes or rattles might be less appealing.
Nevertheless, installing it yourself is effectively free.
Winner: DIY
Consideration 3: Risk
Now, you might think we were stacking the cards in favor of the professionals with the list of challenges associated with upgrading a radio or adding an amplifier. While this is true, there is a long list of potential issues in terms of DIY automotive work.
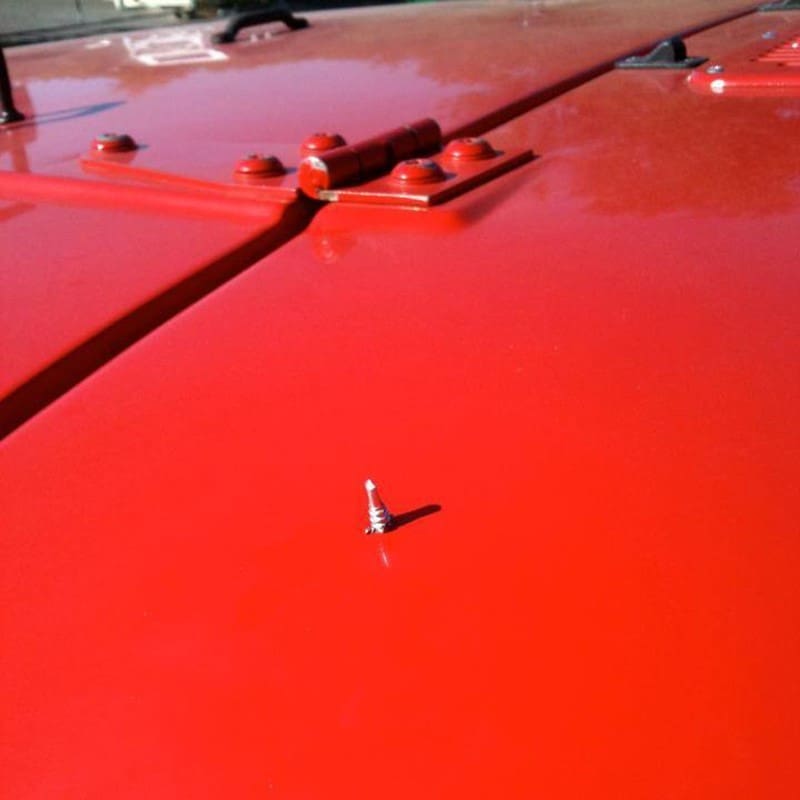
First, there is liability. What if something goes wrong? What if a wire or tool slips and you short the accessory output of the body control module to ground? A new BCM will cost hundreds of dollars and might need to be programmed into the vehicle, which is likely another $150. One slip could cost you $500, plus the time and cost of getting and installing the part. If the damage is severe, you might not be able to drive the vehicle until the component is replaced.
If you damage a trim piece, that will also be expensive. The trim pieces for either side of an older Ford F-150 radio are about $100 each, and an A-pillar for a Hyundai Sonata is about the same.
Taking cars apart is a skill. Knowing where clips and fasteners are located combines talent and technology. Professional shops often subscribe to services like ProDemand from Mitchell1. ProDemand offers detailed instructions on how to take different parts of the vehicle apart and reassemble them. Shops can pay up to a few hundred dollars a month for this information. They work on vehicles all day, every day. As such, the investment is worthwhile in ensuring your vehicle is put back together perfectly.
Most importantly, if a shop working on your car or truck breaks something, they will repair or replace it. If it’s significant, their insurance company will make it right. If you are working with a reputable mobile enhancement retailer, the odds of something going wrong are slim. However, knowing they will make it right in the long run is paramount.
Winner: Professional Installation
Consideration 4: Technology
Working on a modern vehicle audio system is stunningly complicated, even when it seems quite simple. A base-model radio with four or six speakers likely includes equalization, all-pass filters, and signal delays. Yes, even systems without amplifiers include these technologies.
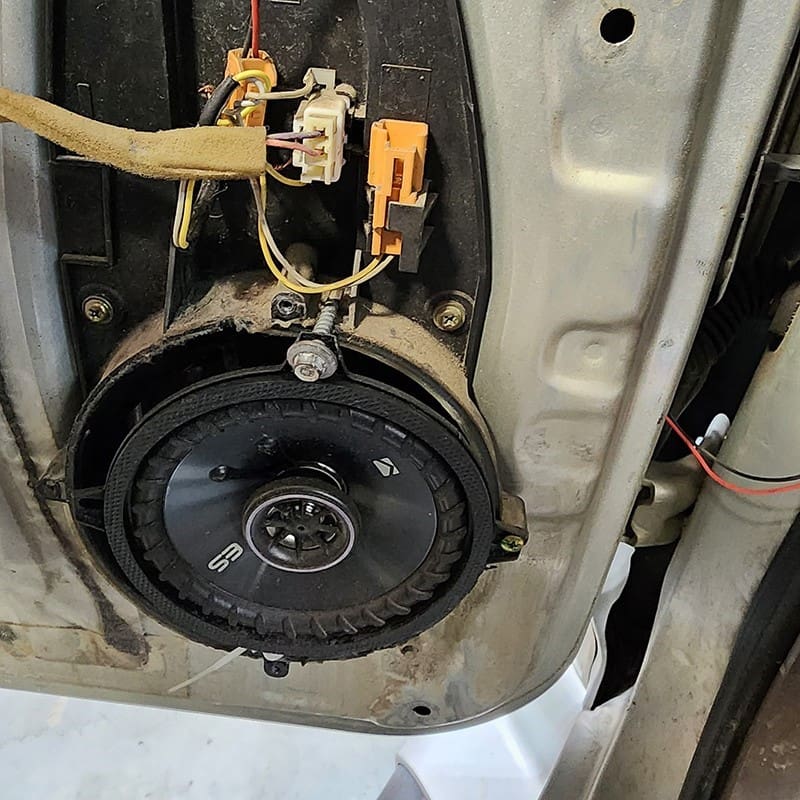
For example, many Chrysler and Dodge vehicles use a woofer in the front door and a small midrange speaker in the dash or sail panel. If you upgrade that speaker without considering the equalization in the signal from the amp, the system will sound bright and harsh.
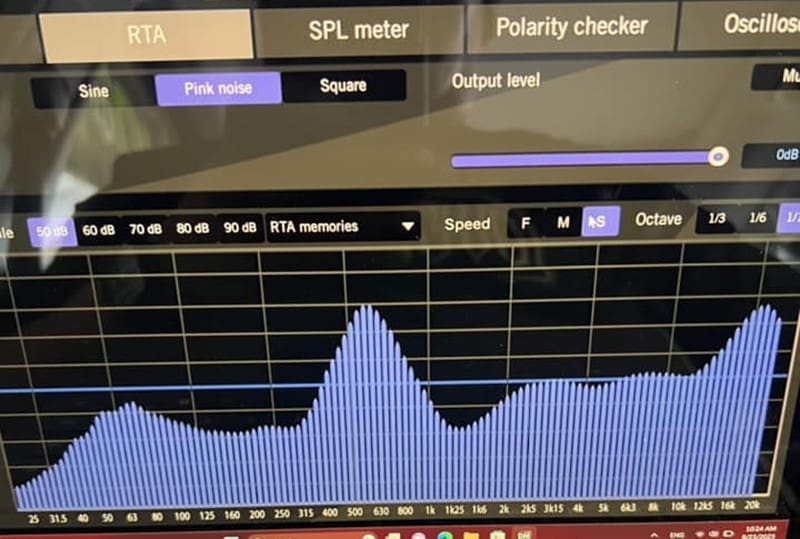
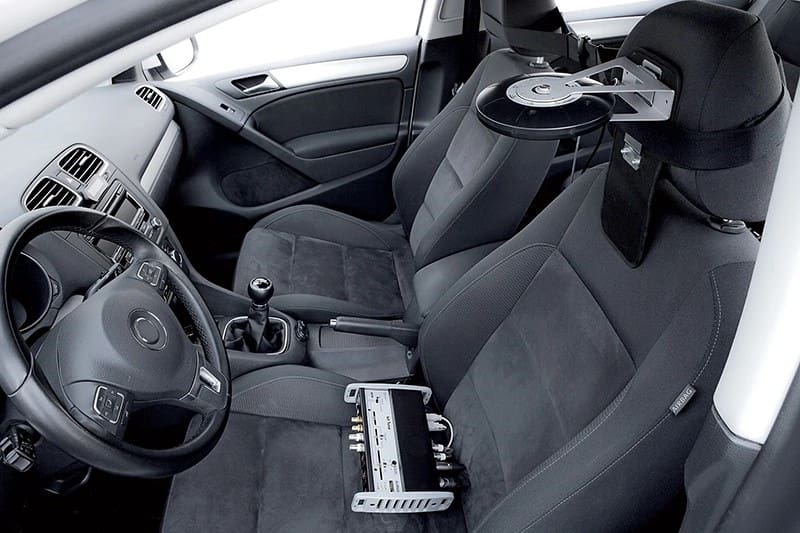
Professional shops have the tools and training needed to measure the performance of the factory-installed audio system. Using that information, they can suggest upgrade solutions that will make new speakers sound better.
What are the consequences of not having this information? As mentioned above, new, better speakers might sound worse than the originals. If you integrate with a line-output converter, you might overdrive the device. This condition would result in significant distortion and potentially damage the speakers. Knowing how the factory-installed system functions is crucial to designing an upgrade that will sound excellent.
Winner: Professional Installation
Consideration 5: Materials and Quality
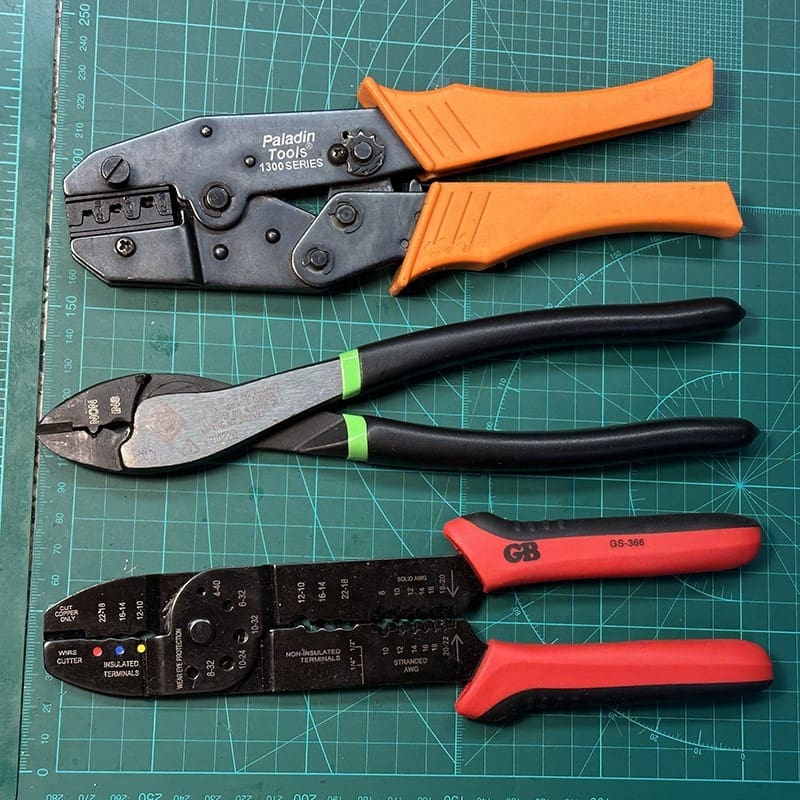
You will need some supplies to perform a high-quality installation. Good-quality wire cutters and crimpers are essential. For crimpers, those multi-tool crimpers and strippers don’t work well. A set of dedicated wire crimping pliers is the bare minimum standard. As Panduit and 3M outline, the proper tool is a ratcheting crimper.
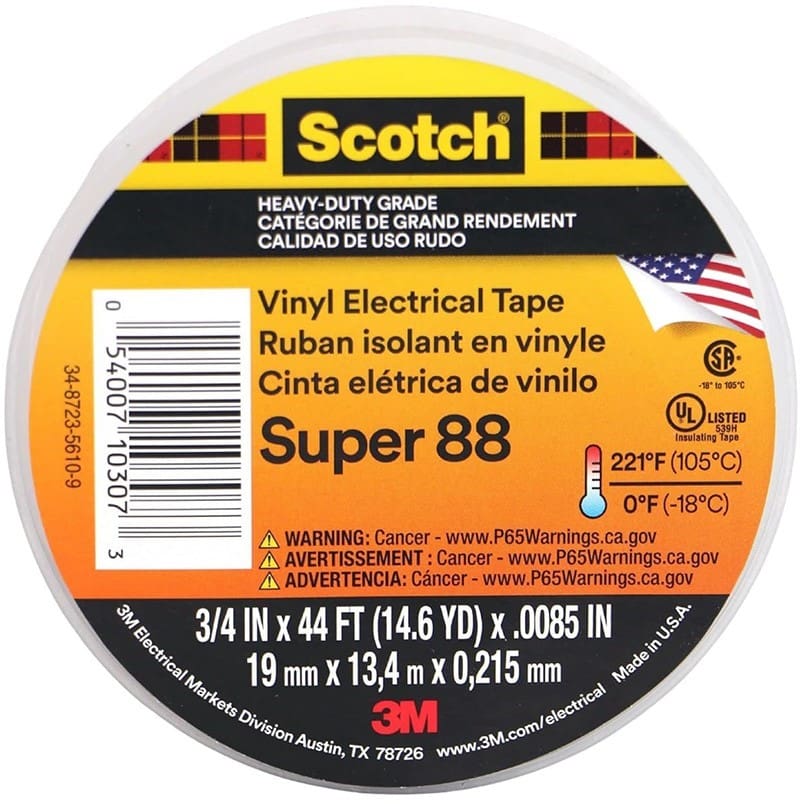
If you are installing a radio, you will also need zip ties and heat-shrink or maybe electrical tape. You can spend anywhere from pennies to dollars on electrical tape. Don’t skimp on what you buy if you want it to remain adhered in temperatures from -40 to almost 140.
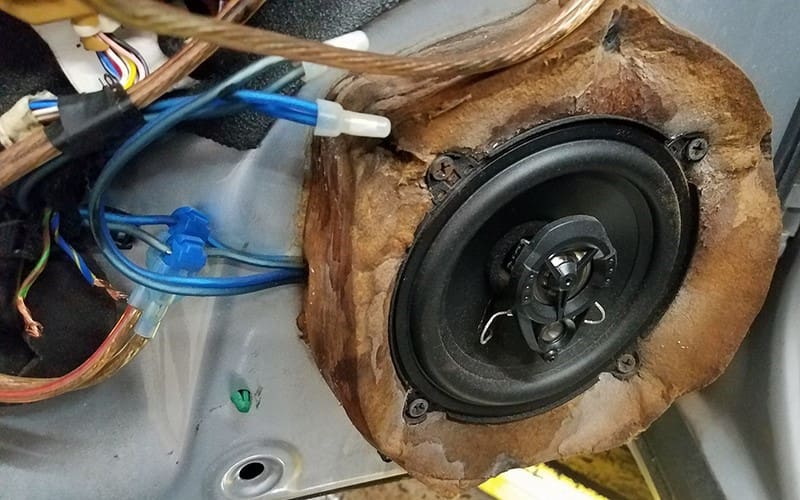
Say you need to build a set of speaker mounting adapters. Professional shops no longer use wood for adapters. Materials like expanded PVC, acrylic, ABS, Corian, or even aluminum are impervious to water damage. Further, they can be shaped to mimic the original mounting and are effective against water damage. You will need a router, a router lift, and a selection of cutting bits to make these adapters look like they belong. So, tack on another $1,000 for that.
You can certainly purchase any of these items or materials. However, you likely have to buy significantly more material than you’ll ever need. You’ll also have to invest in the tools to make the parts.
Winner: Professional Installation
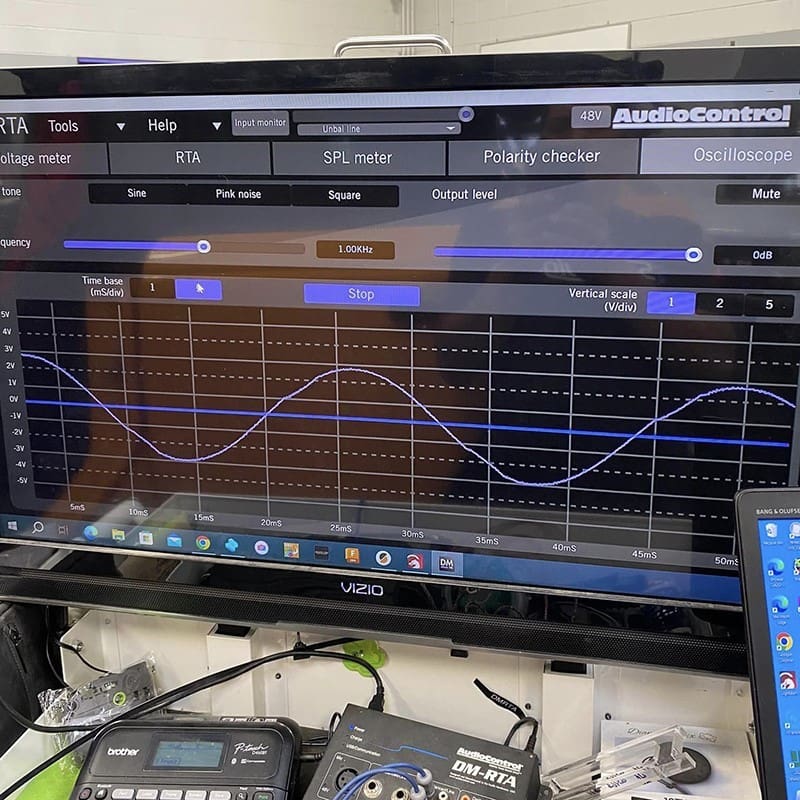
Consideration 6: System Configuration and Calibration
One installation aspect that is continually overlooked is system configuration and calibration. Let’s say you’ve purchased a new radio. If it’s a mid-level or higher model, it likely has a 10-band equalizer, at the very least. Leaving this unconfigured is like ordering chicken wings without sauce at Duffs in Niagara Falls, NY. You’re going to miss out on something important.
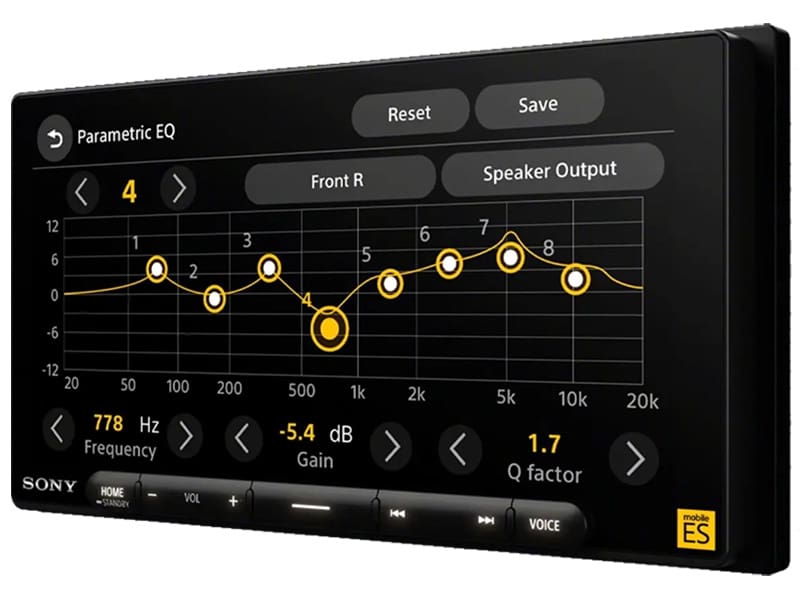
Suppose your audio system includes adding a subwoofer and amplifier; testing to ensure the acoustic polarity between the sub and the rest of the speakers is crucial. If the system has a digital signal processor, adjusting the relative phase around this crossover point may be possible. Getting this right is crucial to making the system sound amazing.
Once again, it’s possible to purchase all this hardware and invest time in learning how to use it, but that will cost at least a few hundred dollars and require days of research and experimentation.
Winner: Professional Installation
What is Professional Car Audio Installation?
Searching for a shop to upgrade your vehicle starts with visiting the shops in your area. Ask the Product Specialist the same questions and consider their responses carefully. Are they working to help you find a solution that matches your goals, or are they more focused on maximizing their profits? Look at the shop’s website and social media. Do they have examples of their work, or are they just focused on selling as many boxes as possible to anyone who comes through their doors?
Study Their Work
Speaking of work, ask to see examples of what they’ve done. Look at the wiring. Is it tidy? Is it safe? Do they waste time making wiring look fancy, or is it hidden and properly protected? Look at how equipment is secured to the vehicle. Will a subwoofer enclosure stay in place, or will it become a lethal projectile in the event of an accident? Attention to detail is the name of the game here.
Ask about warranty coverage. What warranty do they offer on their workmanship? What are their policies on product warranty? Do you have to pay for removal and reinstallation? What about paying for shipping? Do they offer an over-the-counter exchange program on products they have installed? Do any of these policies apply to cash-and-carry items?
Professional or DIY Car Audio Upgrades
We do not doubt that we’ll get a LOT of feedback on this topic. There are excellent examples of DIY car audio upgrades. Sadly, there are hundreds of times as many examples of poor or dangerous work. As much fun as it is to tinker, your car is a complex machine. Vehicle manufacturers put a stunning amount of emphasis on reliability and safety when they design it.
If you want your car audio system to sound better, start researching which shop in your area does the best work and offers the highest-performing products for the money. Look for retailers with MECP Certified Product Specialists and Installation Technicians. Work with them to design an upgrade that fits your budget, meets your performance goals, and provides the best reliability. We know you’ll be happy with the investment if you choose wisely.
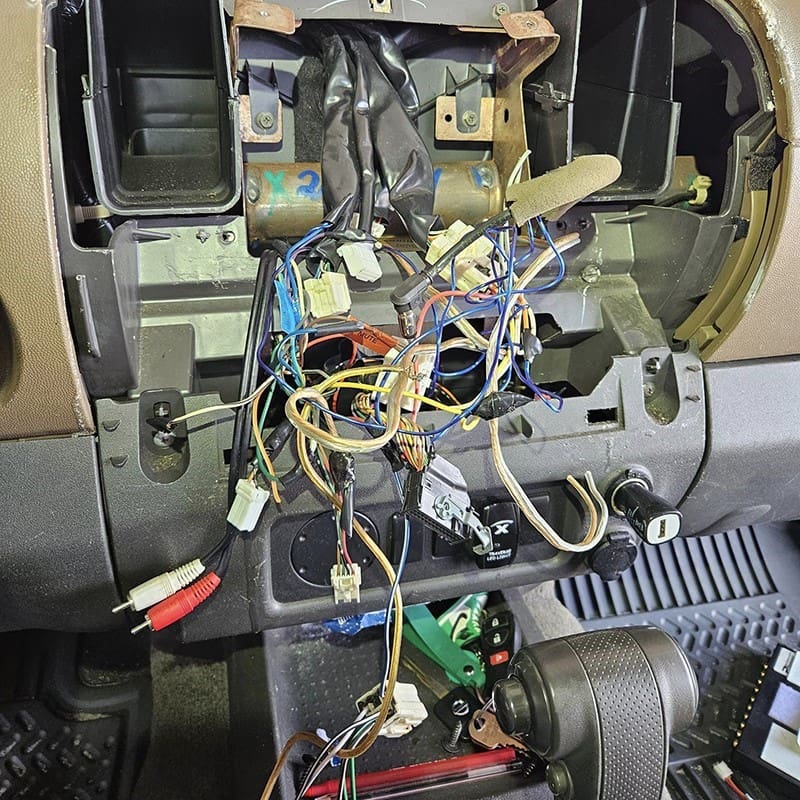
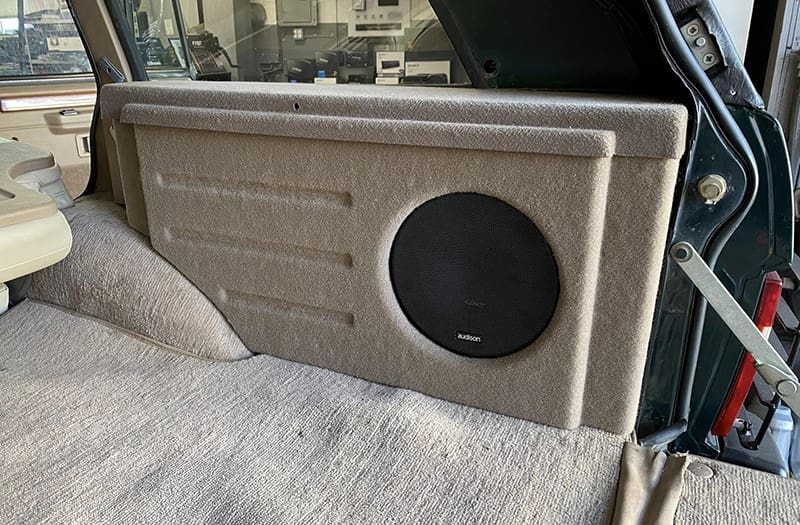
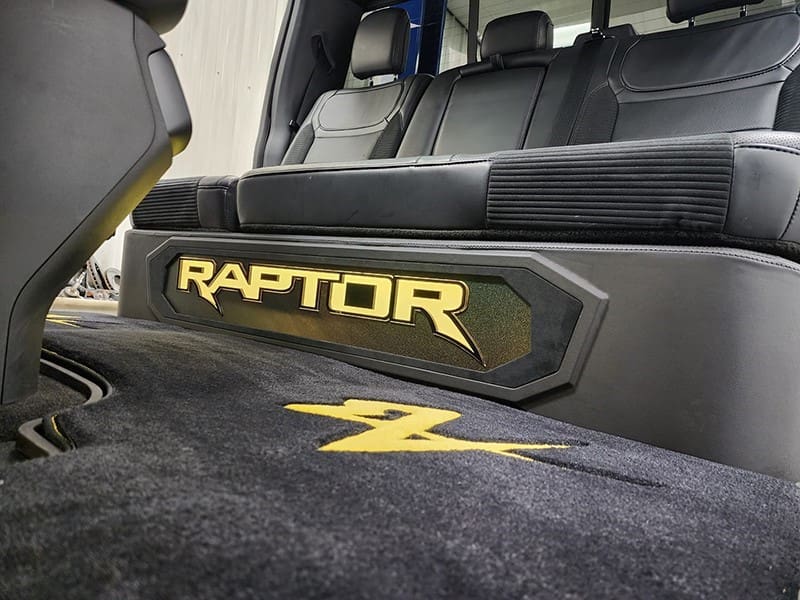
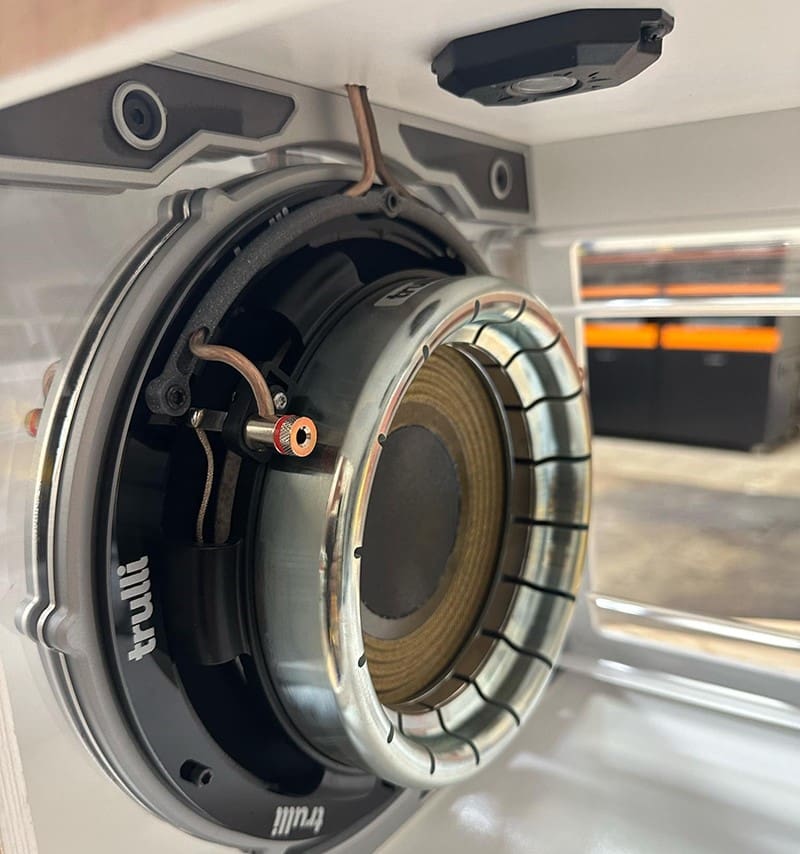
Lead-in image: On the left is a custom subwoofer enclosure created by Musicar Northwest in Portland, OR. It houses a single 10-inch driver and, most crucially, looks like it belongs in the vehicle. On the right is an amateur installation brought to Broken Silence Car Audio in Greenwich, CT, to be fixed—the ‘after’ photo is shown above.
This article is written and produced by the team at www.BestCarAudio.com. Reproduction or use of any kind is prohibited without the express written permission of 1sixty8 media.

Leave a Reply